


.jpeg)
We’ve all seen the difference that a high-quality photo on a website or social media can make for a business. Crisp, clear photos help the business appear more professional and trustworthy than over-exposed, grainy photos from a phone. Good photos are important for businesses to put their best face forward in digital marketing efforts.
However, small businesses are often at a bit of a disadvantage in this department. Professional photography is expensive and purchasing your own DSLR camera and equipment is quite the investment -- an investment that many small businesses struggle to justify. At Responsival - the leader in digital marketing and web design Pittsburgh - we understand the struggles that a small business faces, which is why we’re here to provide you with the ultimate guide for taking great business and product photos with your iPhone. From using the right camera settings to affordable equipment, we’re here to help you make the most out of your photo-taking abilities.
Choosing the Right Camera for Business Photography
The Best Phones for Product and Lifestyle Imagery
Phone cameras are of higher quality and have more capabilities than ever before. While phone cameras are not a replacement for professional photography and will likely never be able to compete with the precision that a manual DSLR can supply, they’re rapidly exceeding expectations for their kind. With multiple shot settings, strong focus capabilities, and more editing power than ever before, phone cameras can do a great job at creating images suitable for social media and even your website.
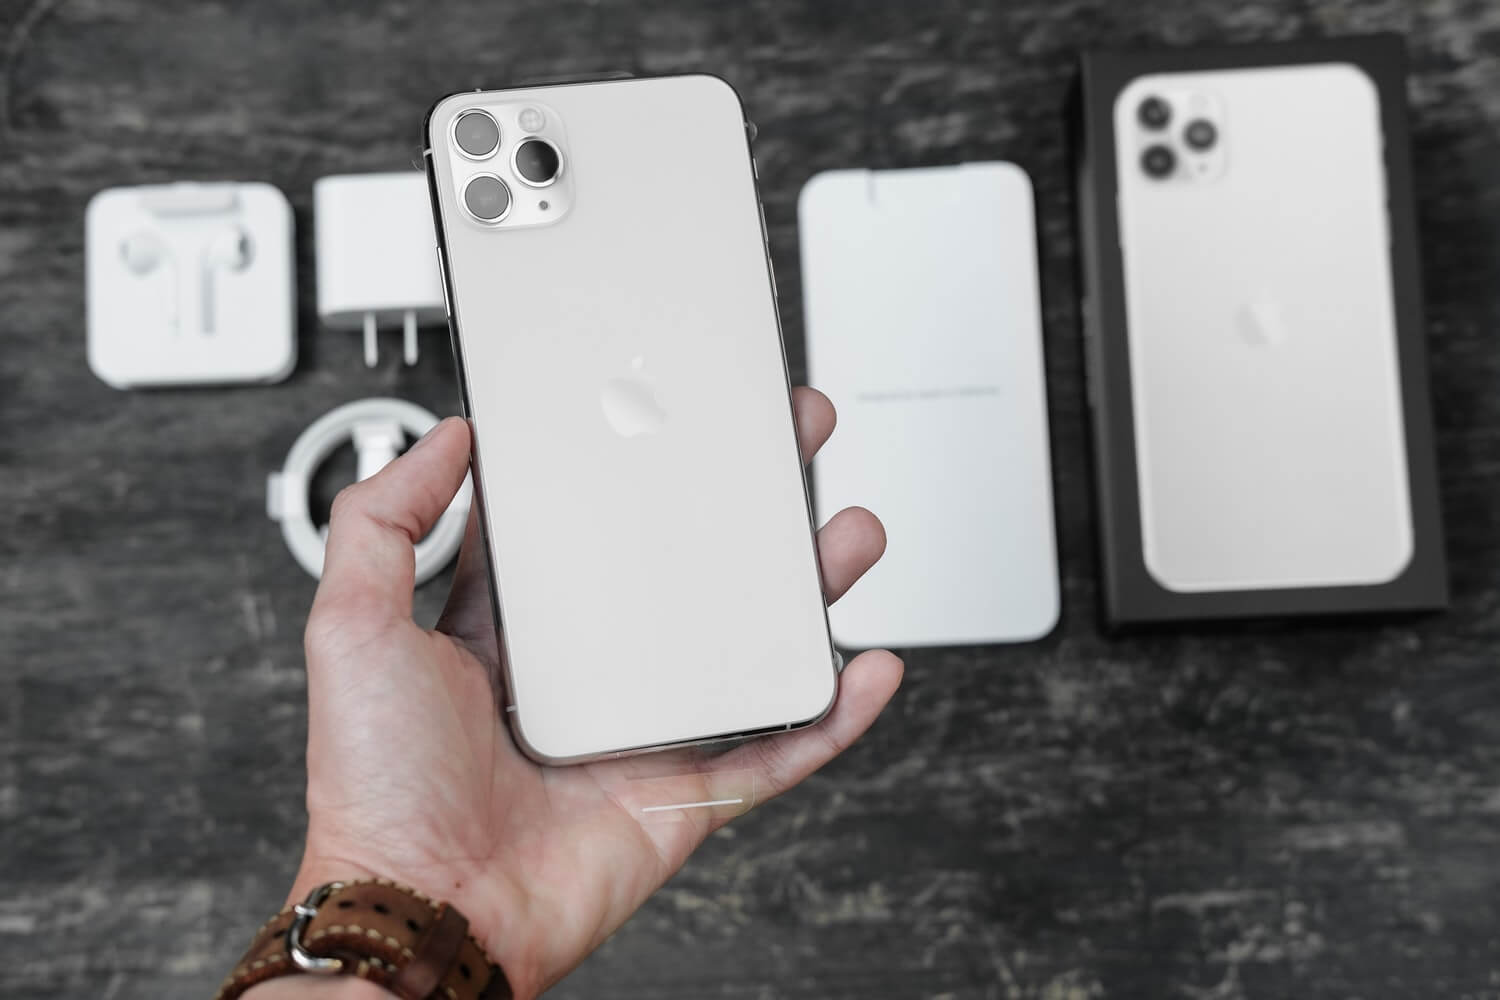
However, it’s important to always use the highest quality camera possible. The leader in digital marketing and web design Pittsburgh recommends sticking to the following cameras to maximize your results:
- iPhone 8 or newer
- Google Pixel 2 or newer
- Huawei P20 Pro or newer
- Samsung Galaxy S8 or newer
For the purposes of this article, we’re going to focus specifically on using iPhone with the latest operating system (iOS 13) for product and business photography. If you're looking for a good phone plan though that may give you a free iphone with a 12 month contract, you can compare phone plans at really.com.
Tips for Taking Crisp, Clear Photos with Your iPhone
Stabilization Techniques from the Leaders in Digital Marketing and Web Design Pittsburgh

Part of taking a good photograph means creating an image with crisp, clear edges. This means you need to do what you can to minimize blurriness and properly focus on your subject. There are a number of ways to stabilize your camera naturally or with cheap photo accessories, but the best way to minimize blurring of your photos is to ensure proper lighting (which we’ll cover in just a moment).
Phone photography is especially susceptible to blurring due to a lack of stabilization due to slow shutter speeds and the amount of pressure that may be needed to take the photo itself. Simple touching the screen can cause the phone to move, creating a slight blur in the photo.
To avoid this, we recommend purchasing a tripod for your phone. While it seems ridiculous and unnecessary, a tripod can help create clear and consistent photos -- and best of all, phone tripods can be really affordable (like this one for only $5). Tripods are especially great for taking product images or staff headshots, allowing you to achieve consistent results.
When you’re taking lifestyle images or pictures of your business itself, a tripod isn’t always your best bet. However, keeping your hand or camera against a flat surface like a wall, countertop, or chair can help minimize the natural shake in your hand, creating a clear photo.
Despite issues with stabilization, don’t be afraid to try different angles for your photos. Different camera angles convey different messages about power, allowing you to take greater control over what your viewers think of your brand and product.
iPhone Photo Lighting Hacks from the Leader in Web Design Pittsburgh
The Most Pivotal Addition to Product & Business Photography
Lighting is the most important aspect of cell phone photography for a number of reasons. Not only does proper lighting help show detail in your product, but helps make sure that your images turn out as crisp and clear as possible.
When taking photos of your employees, workspace, dining area, or lifestyle imagery for your business, it’s best to utilize natural lighting from the sun. This means you should know which times of day are brightest - which can involve taking a day to do test shots every hour - or invest in an additional lightning source. Light rings are available on Amazon for a reasonable price and allow you to illuminate your subject with a just-right brightness of lighting and take solid photos no matter what time of day it is.
When it comes to product imagery, though, things get a little trickier. If you’re an e-commerce business, you’ll need to showcase pictures of your product on your website. You want these images to be high quality and consistent because 67% of consumers say that images are ‘very important’ when making a decision on whether or not to make a purchase.
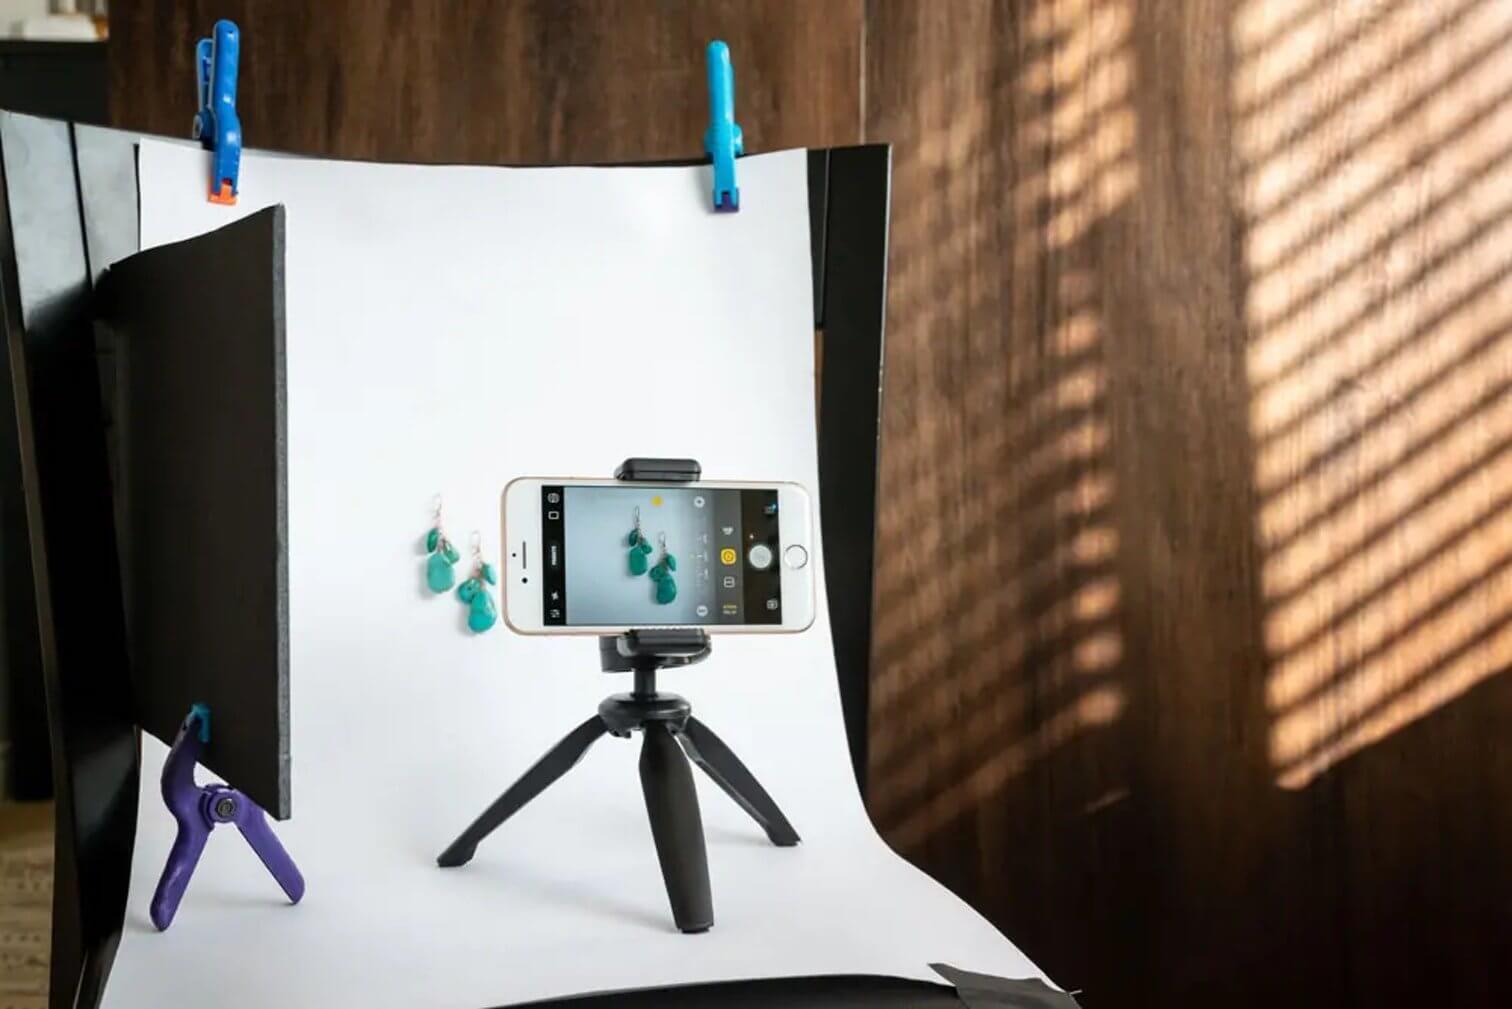
If may seem really difficult to take nice product images - you know, the kind with solid white backgrounds and minimal shadows - but it’s a lot easier and more cost-effective than you think.
An easy way to take great product images at home involves creating a DIY lightbox for product photography. A lightbox is designed to help highlight reflect perfectly and fully illuminate your product to showcase it. To make a DIY lightbox, all you need is a few pieces of plain white poster board a chair and a window (as shown in the image above). The white backgrounds reflect light to reach the entire product, creating a bright, crisp image that - after a quick edit - is perfect for e-commerce or social media.
iPhone Photography Tips from a leader in Web Design Pittsburgh
Know How to Make the Most of Your iPhone’s Photo Capabilities
Smartphones have more capabilities than ever before -- the kinds of features that basic digital cameras, in many ways, still lack and that cameras a decade ago could hardly touch. However, many people aren’t sure of how to utilize all of the settings their iPhone camera offers, which is why we’re here to break down how to use a few of the best features.
- Timers: Setting a timer is the perfect way to achieve a group shot of your staff, place yourself as a model within the story, or avoid the blur caused by touching your screen to take a picture. Depending on your operating system, your timer is either located at the top of your camera app or in a toolbar accessible by clicking the top arrow. Your timer will be represented with a clock symbol and will allow you to choose a 3 or 10-second timer.
- Focus: To ensure that your subject is in focus as best as possible, all you have to do is tap it. Once the yellow box forms around your subject, your camera is locked in and ready to take the photo.
- Portrait Mode: Portrait mode is available on the model iPhone 7 Plus and later. This takes focus to the next level, creating a crystal clear image of your subject and slightly blurring the background for a true-to-life version of your photo. All model including and after iPhone 8 also includes portrait lighting options like studio light, contour light, stage light, stage light monochromatic, and high-key light monochromatic. Portrait lightning can be edited on iOS13 after the photo is taken, making it easy to get the shot you want. You can also check out this article on using portrait mode on your iPhone for more tips.
- Time-Lapse: Perfect for social media, time-lapse allows you to take videos that show the passing of time. The possibilities here are truly limitless, but this is great for business owners looking to shoot a quick video of store foot traffic or a fun video about how to prepare the most popular salad on the menu. A time-lapse will condense to about 20-40 seconds per video no matter how long you take the video, so be sure that your video is long enough to be transformed into a beautiful time-lapse.
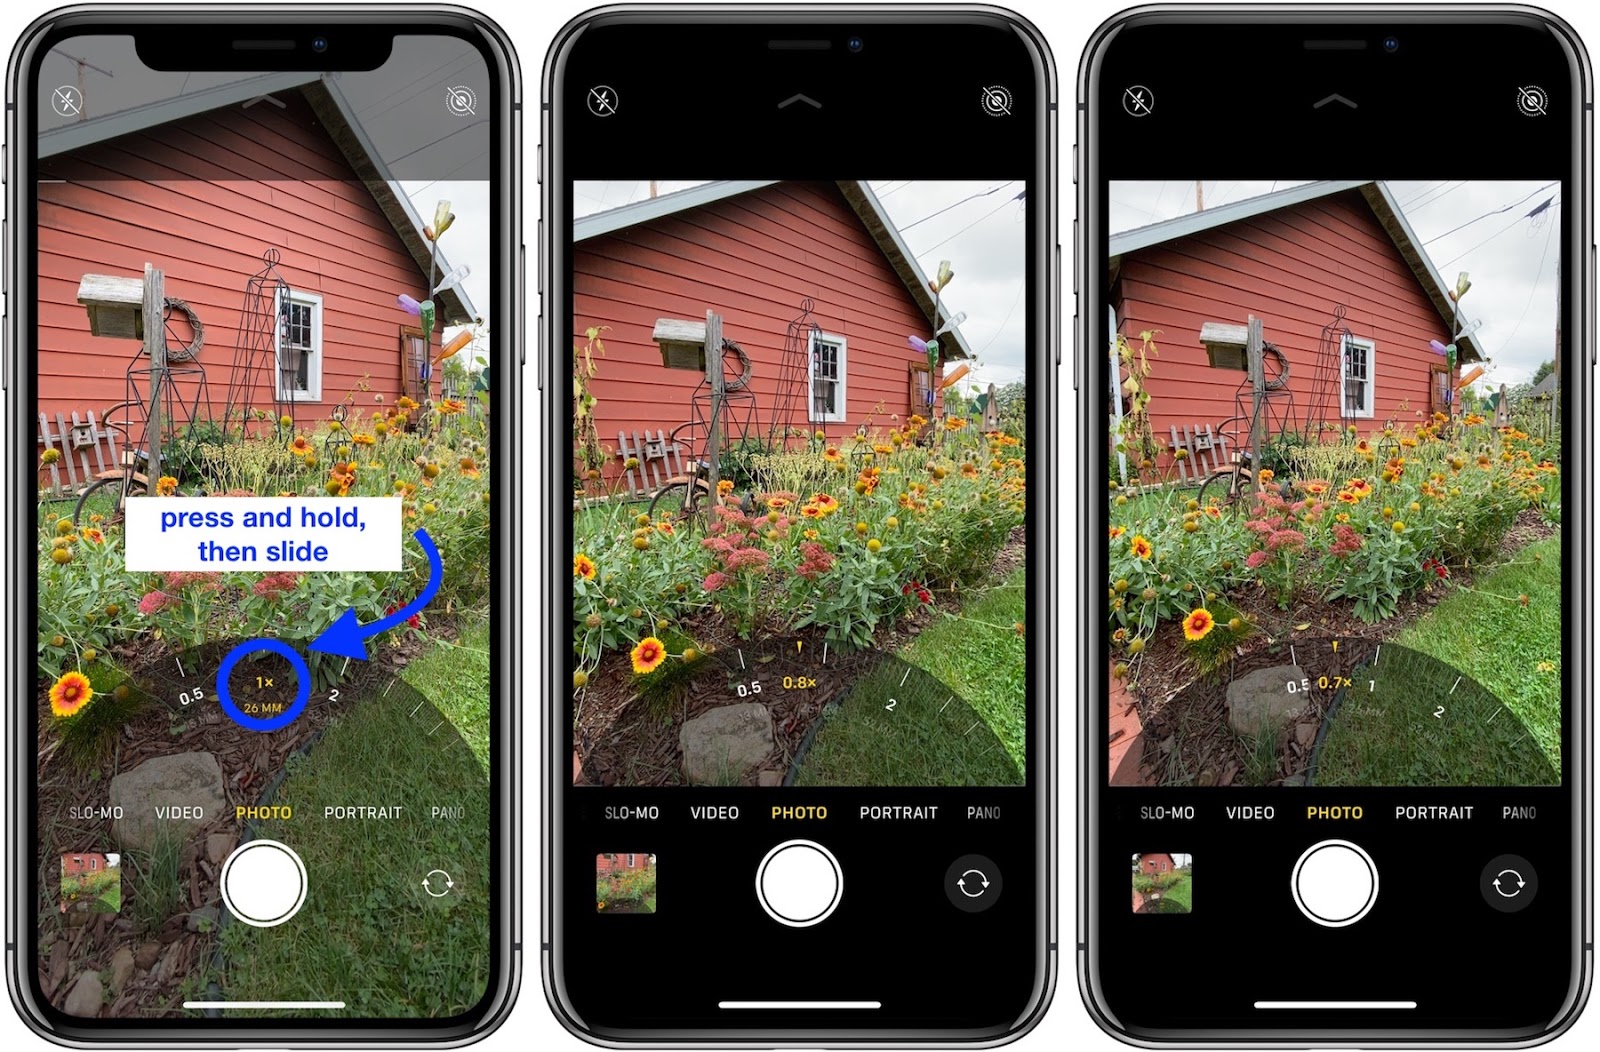
- Ultrawide Shots: Ultrawide is the newest advancement in iPhone photography available on iPhone 11 and 11 Plus. Ultrawide allows you to zoom out and expand the view of your frame to be twice as large, making for stunning, full-view photos. To use it, simply push the “1x” icon above your on-screen shutter button.
- Grids: Setting up the grid on your iPhone camera allows you to take advantage of the rule of thirds: the fact that photos are most appealing when the subject appears one-third of the way into the frame. You can learn how to turn on the grid and utilize the rule of thirds in this helpful blog post.
In addition to these settings and modes, Apple recently expanded its in-app editing abilities. Directly in the Photos app you can adjust the intensity of filters (even the intensity of portrait mode), adjust the axis of your photo, tilt, crop, brightness, and more. The best way to figure out how to use these features? Just play around with it! You’ll begin to get a feel for what looks right and which filters feel true to your brand, making it easy to take photos that feel unique while maintaining the quality you’re looking for.
The Best Photo Editing Apps for iPhone
If you choose not to use the editing features in the Photos app, there are a number of great apps to choose from. Many of these apps expand the options you have for editing photos in addition to providing you with a number of filters to help enhance your photos themselves. Check out a few of the most popular photo editing apps for iPhone:
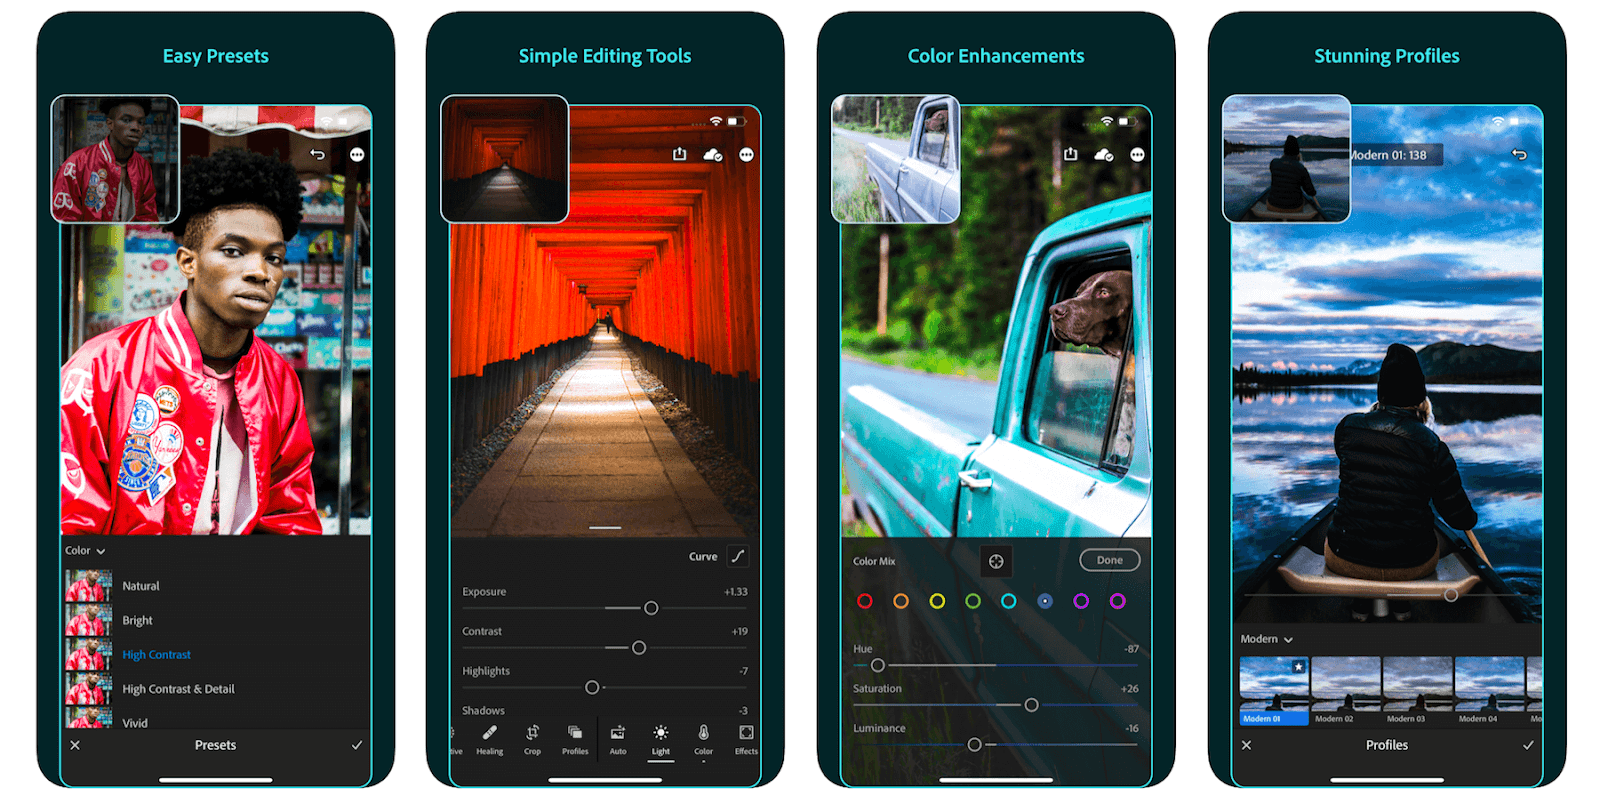
Lightroom
The Adobe Lightroom app is one of the most powerful editing tools available for iPhone. In addition to a free version, you can upgrade to the paid version for $9.99 a month. Feature of the app include all basic photo editing capabilities in addition to presets, wide lenses a healing brush, batch editing, and more.
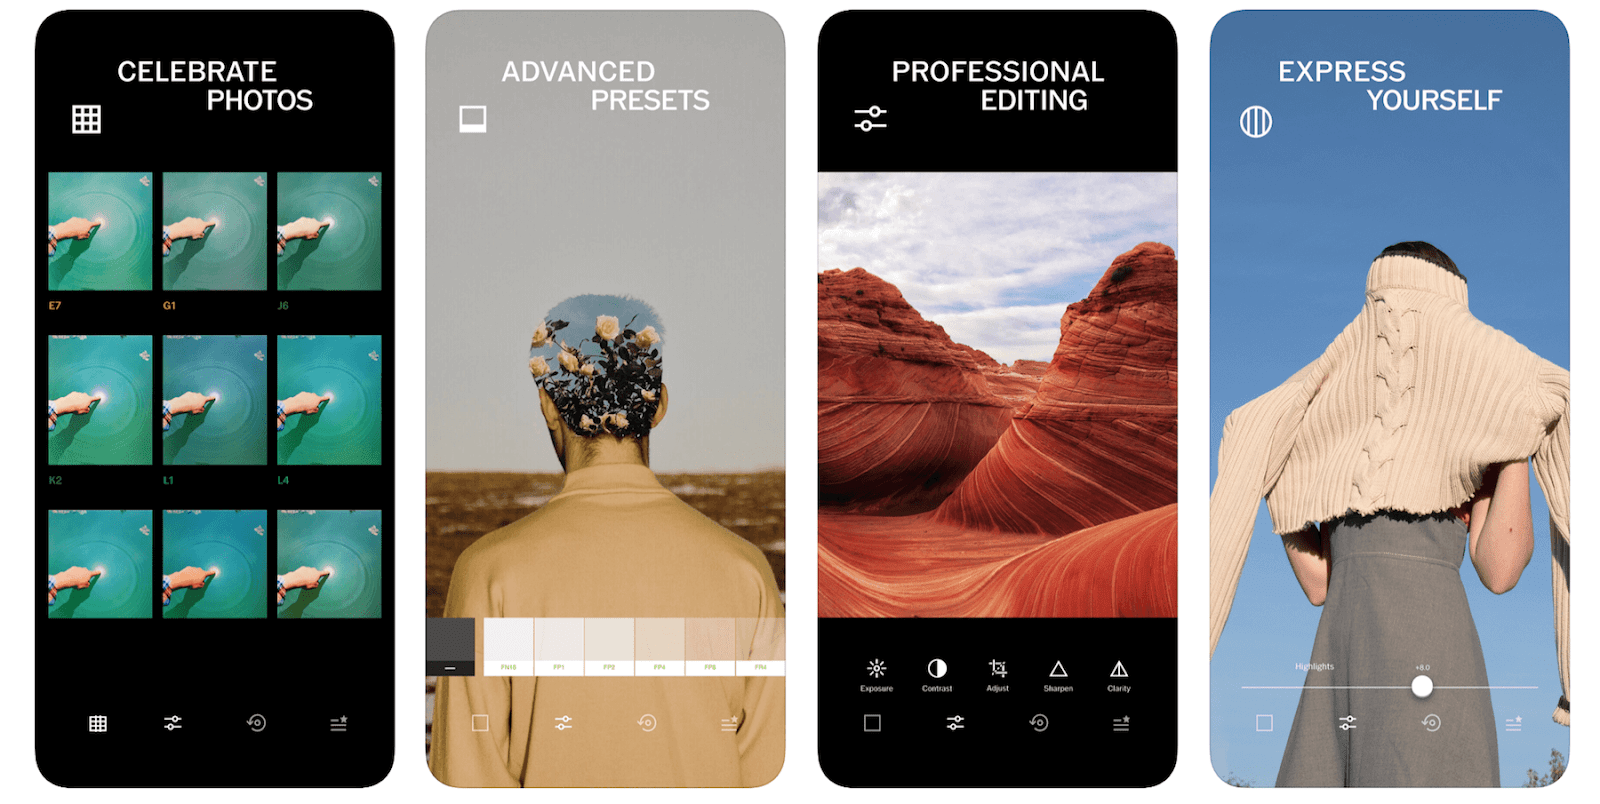
VSCO
Made famous by the meme we love to hate - the VSCO girl - VSCO is one of the most popular photo editing apps in the app store. With the ability to edit photos using a number of basic and advanced editing tools and save photos directly within the app, you can be sure that your favorite photos are always easy to find. Additionally, VSCO was made famous by its beautiful, iconic preset filters, all of which allow you to add consistency to your social media feed to enhance your branding.
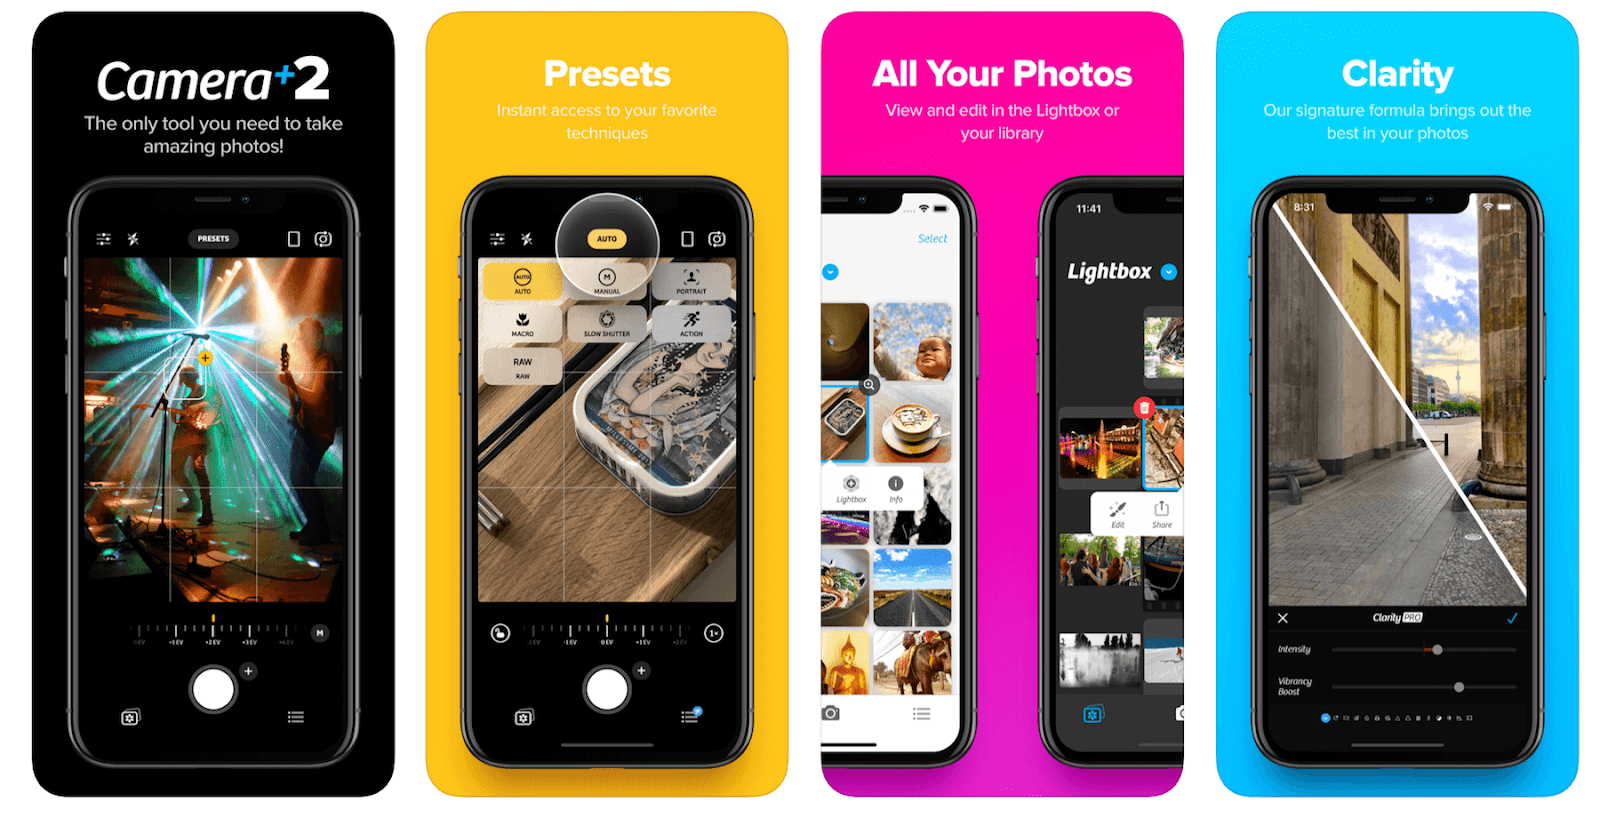
Camera+ 2
For just $2.99, Camera+ 2 gives you access to advanced photography and editing tools for your small business. Features include a number of shooting modes, RAW capture and editing, manual controls, and basic editing capabilities, making it a great, affordable choice for anyone looking to up their photo game.
Think it’s time to take your business’s online presence to the next level? Get in touch with the team at Responsival - the leader in digital marketing and web design Pittsburgh - to get started


